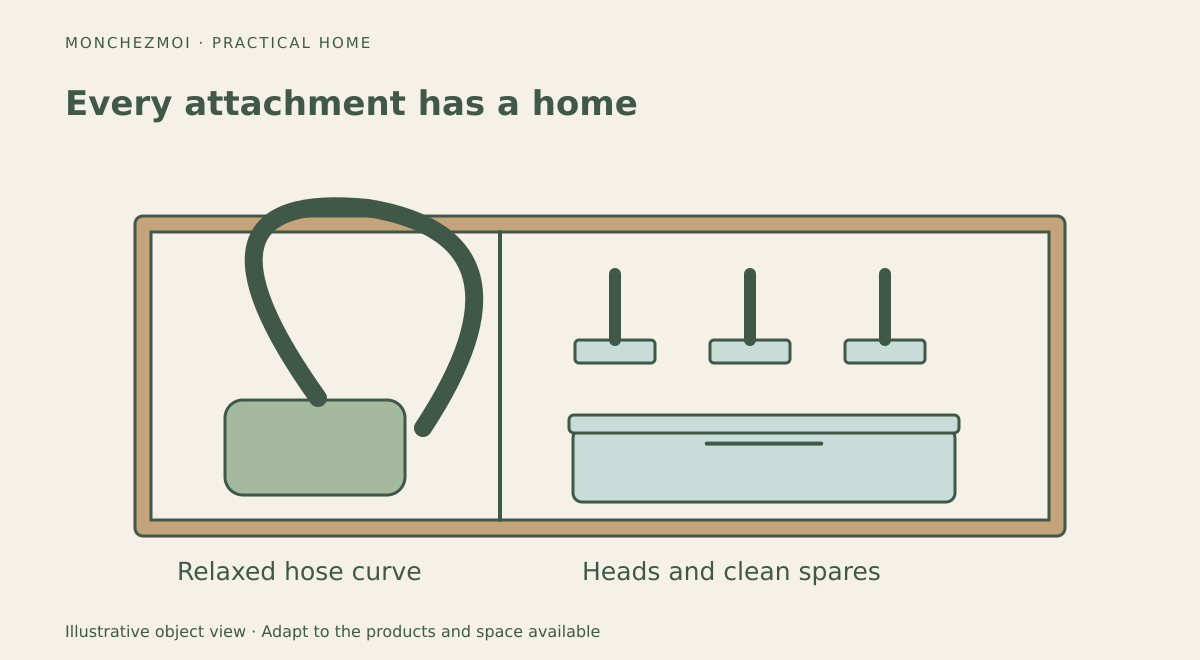
Vacuum attachments tend to disappear for a simple reason: the vacuum has a designated parking spot, but its smaller parts do not. A crevice tool ends up in a kitchen drawer, a spare filter stays in its shipping box, and the upholstery brush gets buried beneath cleaning cloths. A workable system gives the machine and its accessories one shared home, without forcing everything into one crowded container.
Start with a complete accessory inventory
Gather the vacuum, hoses, extension tubes, brush heads, adapters, replacement filters and unopened consumables. Check which pieces belong to the current machine; older attachments may look interchangeable but fit different connectors. Consult the model number before discarding or combining parts.
Sort the collection into three groups: attachments used every week, occasional tools, and clean replacement supplies. Wipe dirt from used attachments and let washable components dry completely according to the manufacturer's instructions before putting them away. Keep unused filters in their packaging or a clean, dry container so they do not collect dust before installation.
Choose a storage location that matches the vacuum
The best location is usually where the vacuum is already stored. A tall utility cupboard can hold a canister vacuum below and a shallow accessory basket above. In a coat closet, a narrow bin on a shelf may work better than hooks that snag jackets. In a compact apartment without a dedicated closet, a freestanding stand or a discreet cabinet near the cleaning area can keep the system together.
Measure the actual machine, including its handle, hose bend and charging dock, before purchasing an organizer. Leave room to lift the vacuum out without removing every accessory first. For cordless models, follow the manufacturer's mounting, ventilation and charging instructions rather than treating the charging dock as a generic wall hook.
This is an example of storing supplies by activity and point of use: keep the working kit near the task and the reserve elsewhere.
Give frequently used attachments the easiest access
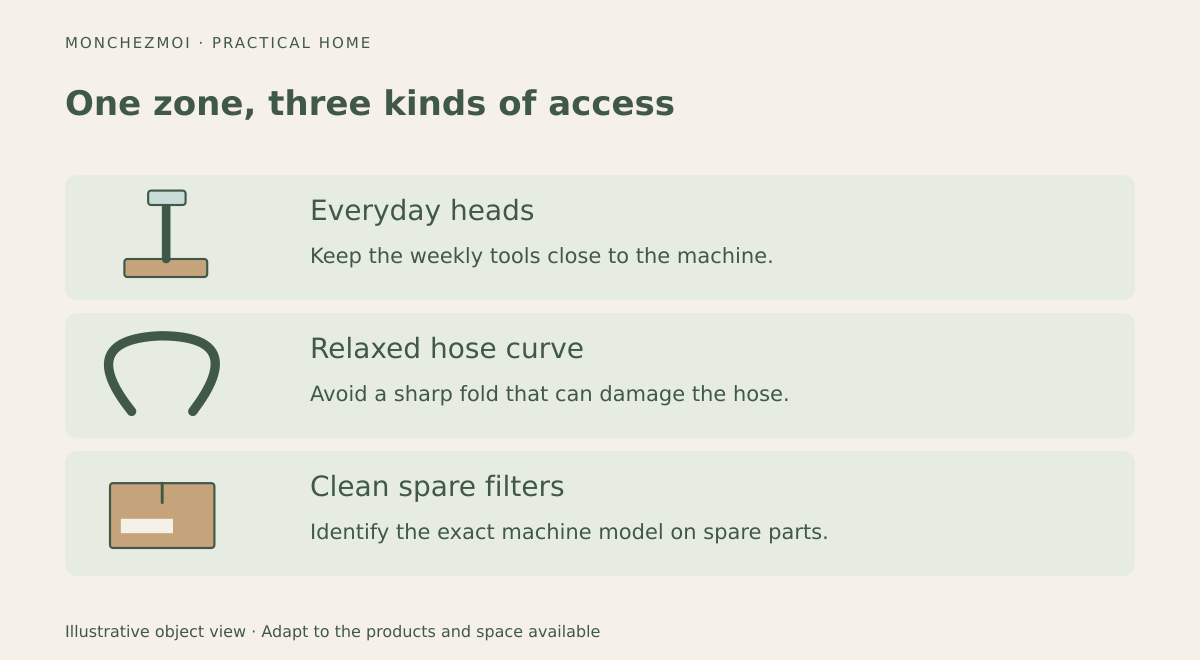
A small open bin or labeled caddy is often enough for the crevice tool, dusting brush and upholstery head. If there is a compatible manufacturer-designed rack, it can reduce clutter further. Keep these pieces at a reachable height, ideally close to the vacuum handle. Avoid deep containers that force users to empty the whole bin to find one nozzle.
Wall rails, pegboards and hooks are useful when the attachment shapes permit secure hanging. Mount them only on a suitable surface using hardware appropriate for the wall and the expected load. Renters can instead use a freestanding shelf, rolling cart or removable caddy. Adhesive hooks should not be assumed to support a heavy hose or powered attachment.
Store hoses and larger heads without damage
A flexible hose needs a broad, relaxed curve rather than a tight fold. Store it on a generous hook, around a purpose-made holder or alongside the vacuum body if the design allows. Large floor heads can sit upright in a divided bin or on a low shelf, where they will not fall onto smaller parts.
Where built-in cupboards are missing, compare freestanding apartment storage options against the actual equipment dimensions.
Make spare parts easy to identify
Use one small labeled box for unopened filters, bags, belts and replacement brushes. Include the vacuum's brand and exact model number on the label, especially in a household with more than one machine. Keep purchase information or a photo of the replacement-part number with the box. This avoids ordering an almost-compatible part months later.
An accessory checklist taped inside the cupboard door can be useful for households that frequently switch tools. It does not need to be elaborate: a simple list of what belongs in the cupboard is enough.
Three workable layouts for small homes
Tall cupboard: vacuum on the floor, frequently used tools in a shallow door-mounted organizer, clean supplies on an upper shelf. Confirm that the door closes without crushing attachments.
Open utility corner: freestanding vacuum stand, a compact caddy for tools, and a closed box for spare filters. Keep the arrangement out of main walking paths.
Under-stair or awkward closet: machine in the tallest section, hose on a broad side hook, small pieces in a labeled pull-out bin. The goal is to use irregular space without making retrieval difficult.
Use the same clear naming scheme as our guide to visual storage labels so everyone can identify the right compartment.
Keep the system working
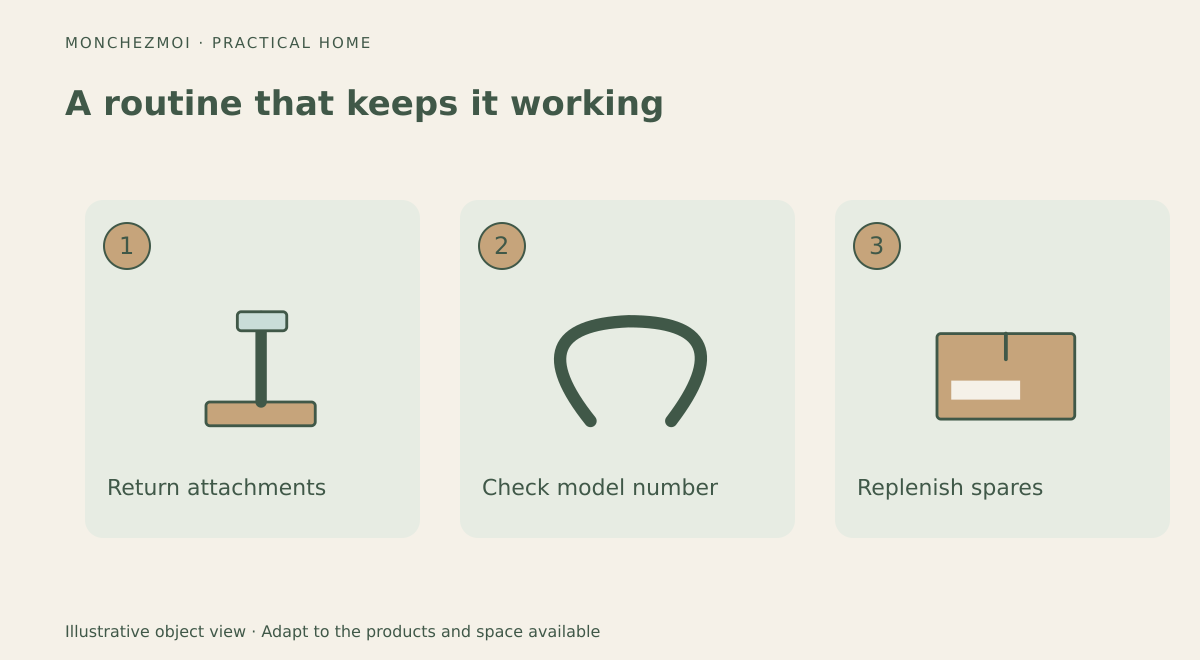
Return each attachment to its assigned place immediately after cleaning. At filter replacement time, check the spare-parts box and update the model information if the vacuum changes. Every few months, remove broken adapters and obsolete consumables rather than letting them accumulate indefinitely.
Key takeaways
A single storage zone works best when everyday tools are visible, hoses are not sharply bent, and unused filters stay clean and dry. Choose organizers around the vacuum's real dimensions and the manufacturer's requirements—not around a perfect-looking photograph.