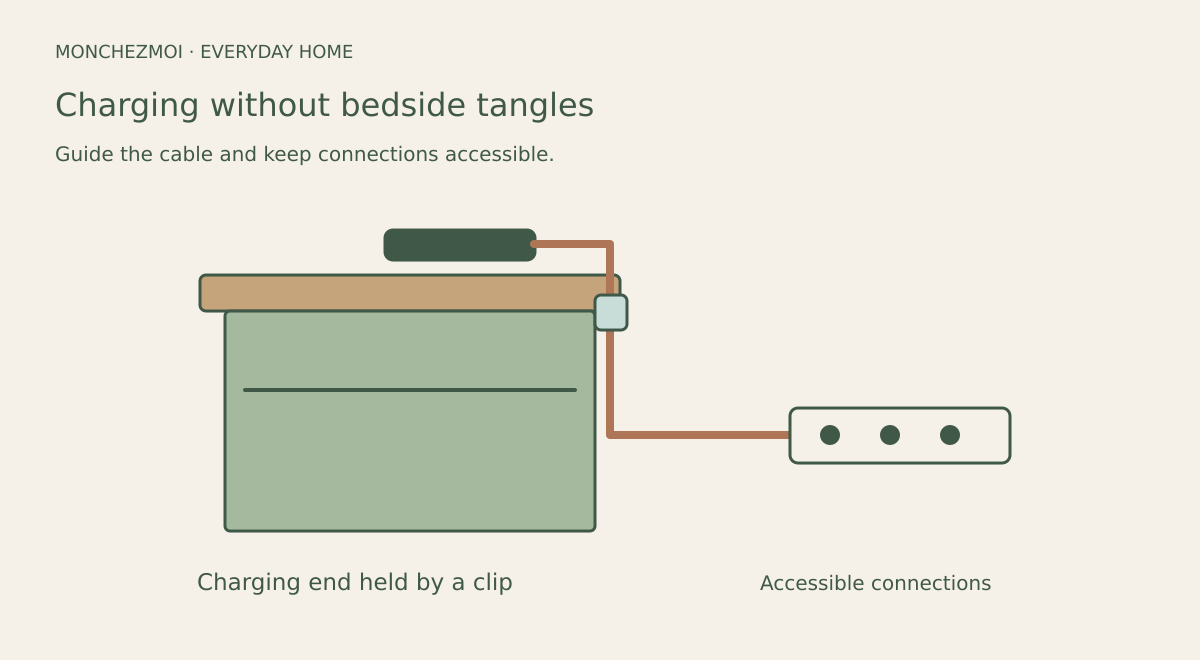
Charging phones, watches and earbuds at the bedside inevitably creates a tangle of cords. This guide covers low-effort, renter-friendly ways to route and secure those cables using adhesive clips, cord channels, a drawer pass-through, and a mounted power strip. All suggestions are non-permanent and avoid altering bedroom wiring. Canadian renters should note provincial tenancy rules on adhesive damage and choose CSA-certified power strips. Adhesive clips can be mounted under the nightstand or along its back edge to guide cables upward, while cord channels conceal vertical runs on walls or furniture. A weighted drawer pass-through keeps a secondary charger hidden, and a mounted power strip with guiding clips centralizes multiple devices.
Start with adhesive cable clips
Route secondary devices through a nightstand drawer
A weighted cable pass-through installed in the rear panel of a nightstand drawer lets you charge a second device — such as a tablet or power bank — out of sight. The assembly uses a grommet with a weighted base that pulls the cable slack back into the drawer when it closes, keeping the connector from dangling or falling behind the furniture.
To install, drill a 20–25 mm hole in the centre of the drawer back (typical size for a grommet, based on common manufacturer specifications, not independently verified). Insert the weighted pass-through, then feed a USB‑C or Lightning cable through so the connector rests near the drawer front when open. The weight retracts the cable as the drawer shuts. Choose a grommet with a low‑profile flange so the drawer still closes flush. The weight should be heavy enough to overcome cable stiffness but light enough not to strain the drawer slides. Route the cable along the drawer bottom with a small adhesive clip if needed to prevent snagging.
This is a permanent modification: it requires drilling and is not suitable for rentals without written landlord permission. Verify the drawer material (particle board, solid wood, or metal) can accept a clean hole without splitting or cracking. Test the grommet fit before committing.
Warning: Permanent modification — not suitable for rentals without landlord permission. Verify drawer material can accept a hole without splitting.
For more on bedroom layout and nightstand placement, see our guide on arranging a small bedroom for two.
Use cord channels for wall or furniture routing
Paintable cord channels conceal vertical cable runs along the wall behind the nightstand or on the nightstand side. They keep cords flush to the surface and can be cut to length with a handsaw or snips. Run a channel from the outlet up the wall behind the nightstand, then across the top rear edge to the charging zone. A 12–16 mm wide channel typically accommodates two to three charging cables (based on typical product specifications, not independently verified) and comes with adhesive backing or pre-drilled holes for small screws.
Adhesive-backed channels are renter-friendly but may pull paint or veneer off on removal. Screw-mounted channels leave holes that need filling at move-out. Check your lease terms before committing. For a cleaner look, paint the channel to match the wall or furniture after installation. Route cables inside the channel before snapping on the cover; leave a little slack at the top so connectors reach devices without tension.
If the nightstand sits away from the wall, consider a short channel on the nightstand side panel to guide cables from the floor up to the surface. Secure the channel with adhesive strips rated for the surface material, and test a hidden spot first. Channels work well combined with a mounted power strip: run the strip’s cord down the nightstand leg, then along the baseboard in a channel to the outlet.
Mount a power strip on the nightstand
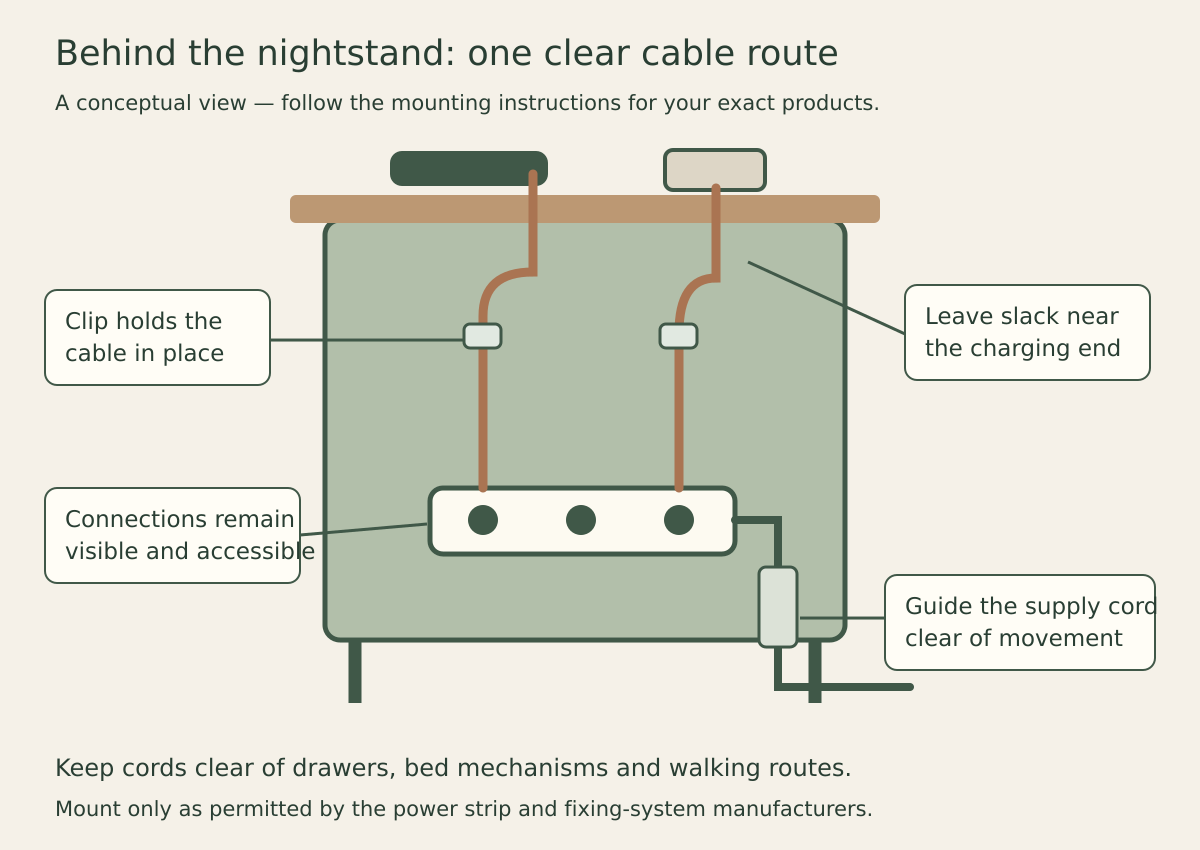
You could mount a compact power strip to the back or side of the nightstand using removable adhesive strips (e.g., Command) or short screws. Route the strip's cord down the nightstand leg and along the baseboard to the wall outlet. Choose a 4–6 outlet strip with a 1.8–2.4 m cord (typical length, based on common product specifications, not independently verified) and a flat plug for tight clearances behind furniture. Position the strip so its outlets face upward or sideways for easy plug access.
In Canada, use only CSA-certified power strips (or cUL/ETLc marked) to meet electrical safety standards. Do not daisy-chain strips or exceed the strip's rated amperage — typically 15 A for household units. Adhesive mounts may fail under sustained heat from multiple chargers; screws provide a more secure hold for permanent installations. If you're renting, test adhesive on a hidden spot first and document the surface condition at move-in to avoid security-deposit deductions under provincial tenancy acts.
Guide cables from the power strip with clips
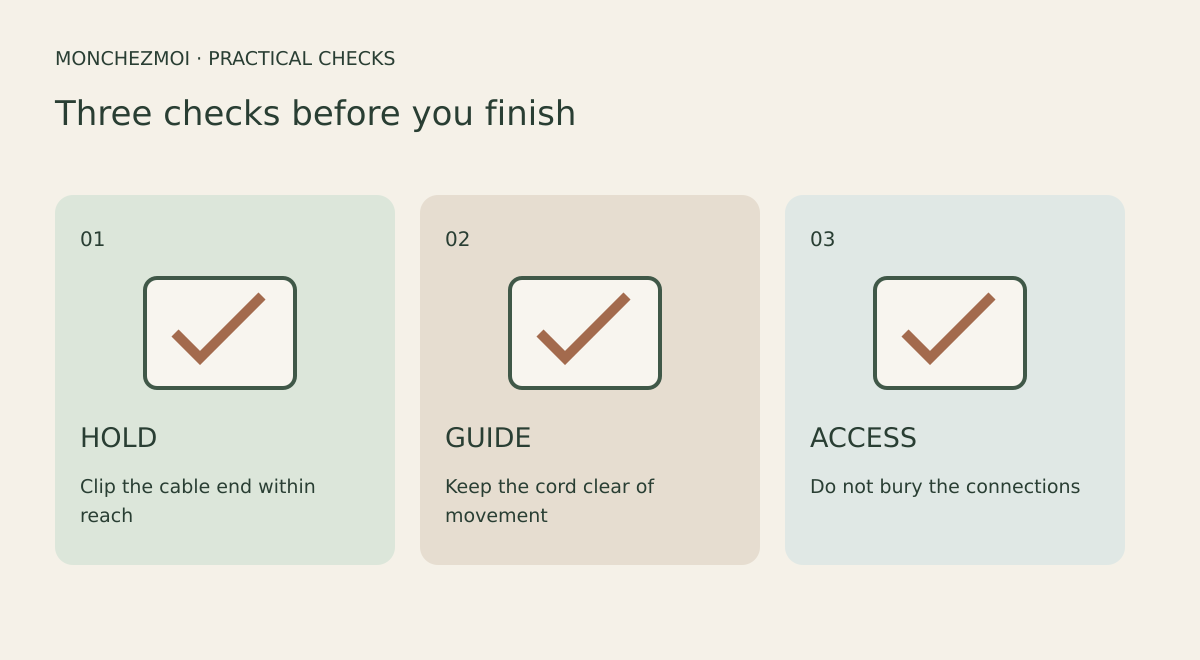
Once a power strip is mounted on the nightstand back or side, route each charging cable upward along the rear edge using adhesive cable clips. Place one clip per cable, following the vertical run from the strip to the nightstand top. This keeps connectors from dangling or catching on the drawer front.
Space clips roughly every 15 cm (6 in) as a starting point (a rough guideline based on common practice, not independently verified). The interval is a rough guideline — adjust for cable stiffness and nightstand height. Stiffer cables may need tighter spacing; flexible ones can span a bit farther. Over-tight clips can pinch thin cable jackets, so leave a little slack in each clip.
Choose clips with openings wide enough for USB‑C, Lightning and micro‑USB connectors to pass through without forcing. Low‑profile clips in a neutral colour blend with most nightstand finishes.
If the nightstand has a solid back panel, run the clips along its inner face. On open‑back designs, attach clips to the rear edge of the top surface or the side panel. Test adhesive on a hidden spot first; some finishes peel or leave residue that could affect a security deposit under provincial tenancy acts.
Similar clip routing techniques for desk setups are covered in our article on hiding cables at a desk.
Prevent charger blocks from sliding off surfaces
Adhesive cable clips on the nightstand top or shelf secure individual thin charging cables and stop heavy charger blocks from sliding off the edge. A small clip placed behind each block anchors the cable and adds enough friction to hold the block in place when you pull the connector free.
Position a clip 2–3 cm back from the front edge for each charger. For multi‑port chargers, one clip on the cable near the block is usually sufficient. The clip opening should accommodate USB‑C, Lightning and micro‑USB connectors without forcing the cable.
Because clips on the top surface are visible, choose low‑profile models in a colour that matches the nightstand finish. Test adhesive on a hidden spot first; some finishes peel or leave residue that could affect a security deposit under provincial tenancy acts such as Ontario’s Residential Tenancies Act or BC’s Residential Tenancy Act. If the nightstand has a textured or delicate veneer, consider clips with removable adhesive strips rated for that surface rather than permanent foam tape.
For renters, document the nightstand condition at move‑in and again before applying clips. A clip that fails under the weight of a bulky charger can let the block fall behind the furniture, defeating the purpose. Verify the clip’s stated load rating matches your charger’s weight.
Canadian context: safety and rental considerations
Choose power strips and USB chargers that carry the CSA mark (or cUL/ETLc) to meet Canadian electrical safety standards. Non-certified units can void insurance and pose fire risk.
Adhesive damage to walls, furniture or baseboards may be deducted from security deposits under provincial tenancy acts — for example, Ontario's Residential Tenancies Act and BC's Residential Tenancy Act both treat adhesive residue and surface damage as tenant responsibility. Test any adhesive on a hidden spot first, photograph the surface at move-in, and keep a record of the product used. Removable command-style strips are generally safer than permanent foam tape, but even they can pull paint or veneer on older finishes.
Use Canadian terminology: "baseboard" (not "skirting board"), "nightstand" or "bedside table", "outlet" (not "socket"). This matters when reading product instructions or communicating with landlords and contractors.
Never modify building wiring. Every method described in this guide is surface-mounted and reversible — clips, channels, drawer pass-throughs, and power-strip mounts attach to furniture or walls without touching the electrical system. If a rental lease prohibits any adhesive or screw holes, stick to clip-only solutions on the nightstand itself and route the power-strip cord loosely along the baseboard without fasteners.
Key takeaways
Adhesive cable clips on the nightstand underside or back edge are a verified, low-effort way to route charging cables and stop connectors from sliding off. Optional upgrades include a weighted drawer pass-through for a hidden second charger, paintable cord channels for wall or furniture routing, and a CSA-certified power strip mounted on the nightstand with its cord run down the leg and along the baseboard. Clips spaced roughly every 15 cm (6 in) can guide cables upward from the strip. In Canada, choose CSA-marked strips, test adhesives on a hidden spot, and document existing condition to avoid security-deposit deductions under provincial tenancy acts. All methods are surface-mounted and reversible; never modify building wiring.